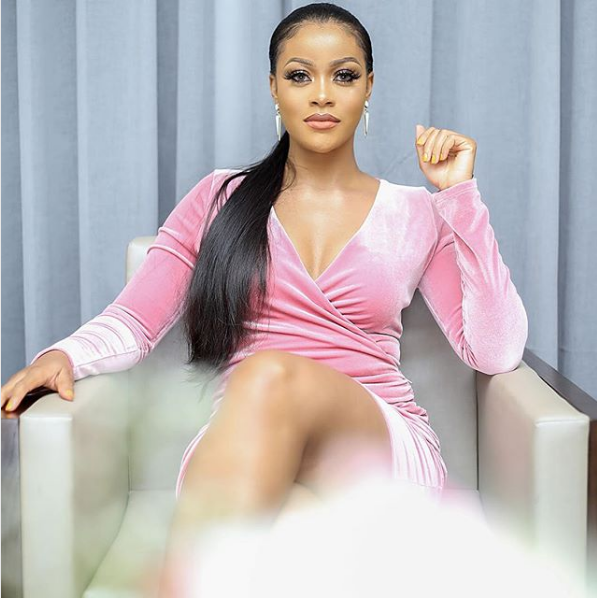
“Knowing your face shape is the first step to creating your most beautiful look” – Kevyn Aucoin
In finding your face shape, pull your hair back from your face, then look closely in the mirror. The features to look for are:
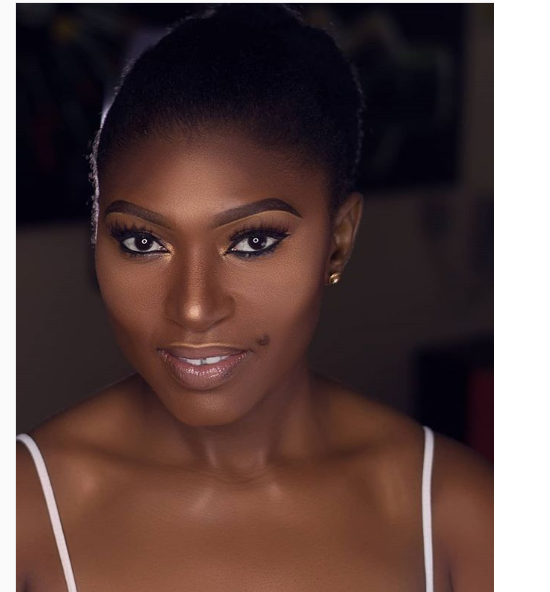
Oval Face Shape
- Forehead is wider than the chin
- Prominent cheekbones
- Face gracefully tapers to a narrow chin
Round Face Shape
- Face is almost as wide as it is long
- Face is widest at the cheeks
 Perfect Brows: High, sharp arches will provide a vertical point on your face, lifting everything upwards rather than outwards. When filling in, start at your arch and make it slightly darker here than the rest of your brow. Try to create as high an arch as you can without it looking unnatural. And groom your hairs so that they point upwards, this will elongate your face.
Long Face Shape
- Forehead, cheekbones and jawlines are all about the same width
- Face gracefully tapers to a narrow oval chin
Perfect Brows: Elongate your brows at the end. It’s the same premise as above, but this will draw things horizontally, to balance out your features. A flat brow shape will also make your face appear more balanced.
Heart Face Shape
- Similar to oval but the chin tapers to a point
Perfect Brows: A heart shaped face is one of the trickiest. Because the focus is already on your eyes and forehead, you want to keep things straight or rounded and not too heavy. Try not to attack sparse areas with a brow pencil because this will emphasize your forehead
Square Face Shape
- Not as common as the other face shapes
- Typically the face is highly angular
- The forehead is somewhat short and the face is widest at the temples.
Perfect Brows: If you have a square face, go thick with a strong arch. A thicker stronger color and shape of brow balances a heavier jawline. Angled brows also help to balance out a square face, so focus on your arch when shading in – both angled and arched brows work with this face shape.
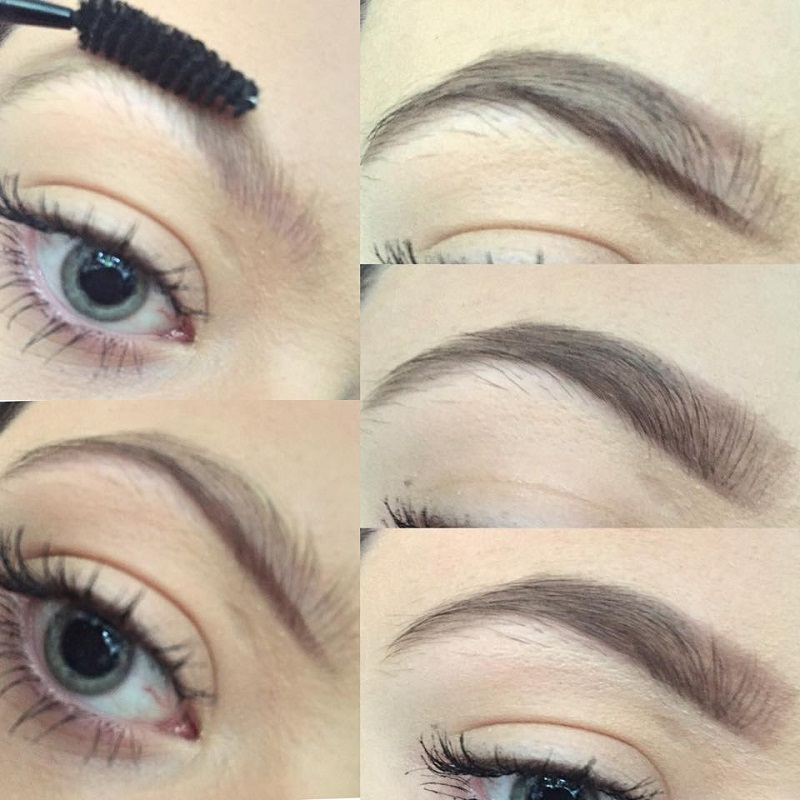
How to Draw Your Perfect Brows
- Using a ‘Spoolie’ eyebrow brush, brush the brows upwards and the tail end of the brow downwards. This is a step people normally miss out, however I think it is important as it prepares the shape of your eyebrows.
- Line below, with an angled brush and eye-shadow, draw a neat line along the bottom of your eyebrow.
- Line above, do the same to the top of your brow, but only to the outer 3/4. Concentrate on defining the tail end of your brow.
Some of you will prefer to do B and C with a brow pencil, depending on how defined you want your brows to look.
- Fill in your brows using an angled brush and eye shadow, fill in the outer 3/4 of your brow. Without adding anymore eye shadow to your brush (use what is left on the brush), blend into the inner brow.
- Highlight, use a light concealer and apply with a flat foundation brush just under the brow bone to highlight. Apply a brow gel to set if you wish to.
Yes, you have it